Thursday, September 29, 2011

If you can't beat them ...

If you can't beat them .... Join them  cut them down and stick them in water.

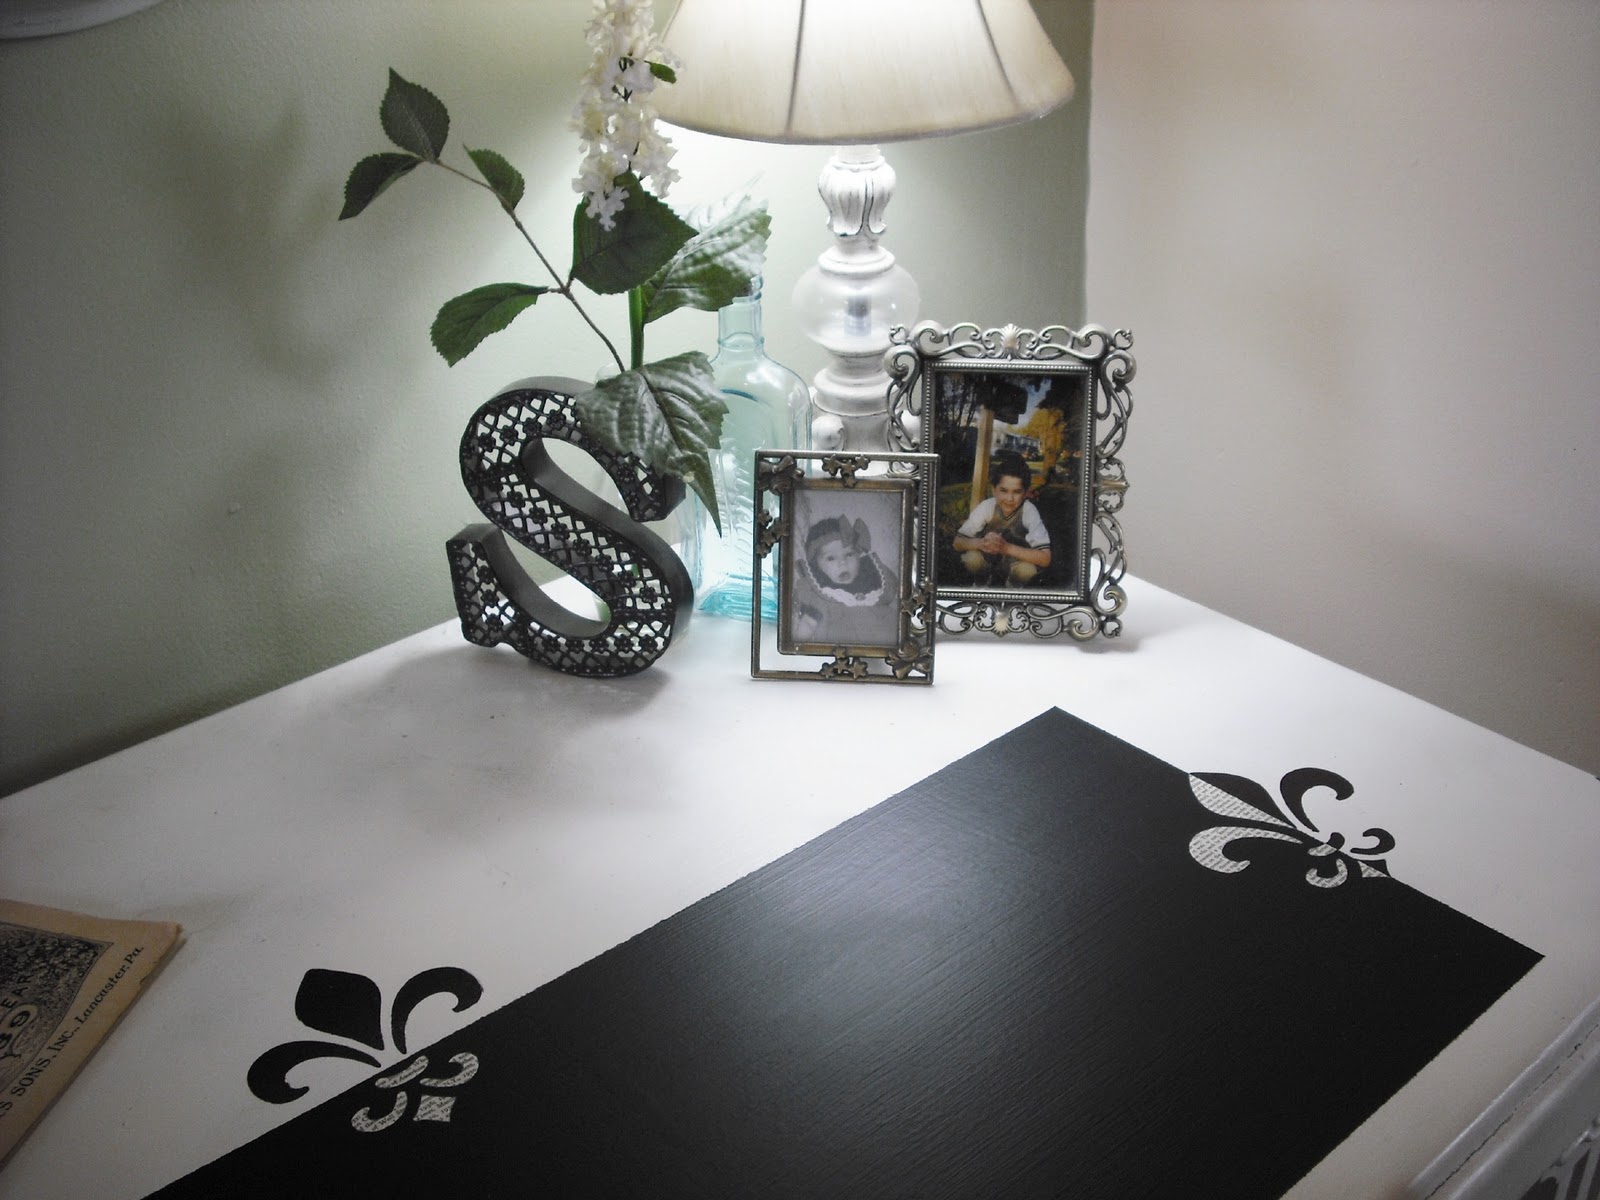
If you haven't already met the Poke Berry plant aka Poke weed also known by several other names, Then let me introduce you.  Sitting in the above milk bottle is my Poke berry plant. It is growing wild in the yard next to us infringing on my lemon balm ... if you can believe that. I was pretty sure it was a weed at first but when it started to make these pretty berries ...I wasn't sure any more. So I looked it up on line. It is classified as an herb but before you start cutting down Poke weed and bringing it in ,you need to know it is poisonous if ingested .I don't have any pets scurrying around or small children..... so I feel safe admiring its beauty up close. If you have poke weed growing close by please read up on it before you decide to bring it in the house. Even if you don't think its pretty as I do ... at least you know what it looks like and  know that it can be dangerous . I also learned  that it does have redeeming qualities like...  The berries and dried roots are used in herbal remedies. The berries juice was once used for inks and dyes. New research revealed that a possible cure for childhood leukemia is found in the common poke weed (very interesting read), also during the civil war the ink was used in the writing of letters. There is a lot to learn about this plant. Look it up if you find the time. I think I might dye some fabric ...who knows:)


Wednesday, September 28, 2011

Do It yourself dollhouse

I thought I would share with you the plans for the dollhouse we built with the kids quite a few years ago.
It is a very uncomplicated box sort of :)

Sorry for the quality of the photos ... If you saw the camera they were taken with back then, you would understand.  This is the living room after the papering and painting the floor.
This is the living room after we put all the little accessories in.
Don't you just love how the gold fish is looking at the fish food and the cat is looking at him :)


If you would like to see more pictures of the house and a little more info please go to Meg's Mini Treasures 
Before my health problems I used to have a real passion for dollhouse miniatures.
Things that I made in the living room above include the goldfish,the pillows on the sofa,the tea cup and books on the table,the photo album behind the birdhouse lamp and the doll in the chair.
BTW Meg still has this dollhouse ... she won't part with it :)
Hope these plans will be use full to 1 or 2 of you DIYers out there :)


Tuesday, September 27, 2011

$2 Dollar Book Bundle Project

I have been seeing these book bundles lately .

They may have been around for a while ... but I'm just noticing them now. They are so sweet I decided to try to make some myself.

 I saw these at Faded Charm in a vignette with beautiful hydrangeas. It was so lovely! To make mine I used old looking books from a flea market . I paid 75 cents per book ...I think I paid $3 to make two bundles. What I like about this project ...is you can buy the most boring, abused,ugly looking books and it all looks lovely in the end.
Miss Mustard Seed has a easy to follow how to on book bundles. That is what I followed to do mine.
The only thing I did differently is I ripped out some of the blank and partially blank pages and printed some designs on them then put them on the top of the bundles. I think with the books,twine and printer ink ,this project costs less than 2 dollars per bundle.


these may have been around a bit, but I thought for how inexpensive and beautiful they are they deserve another look.


Linking up here ... Join the fun!
It Pays To Be Cheap

stylish once again       
{Primp}    DIY under $5


Saturday, September 24, 2011

Dinning Room Inspiration Board

This is the inspiration board I put together for my dinning room makeover.

The back wall is going to be the grey (behind the green plate) and the 3 other walls is going to be a pale tan ...almost off white(next to it). I already have the rug .. It is not the one on the board but it has the same colors.
The rose prints came in and so did the grey fabric for the chair seats. I need to paint the chairs so the seats can get done. Hopefully I will be doing that this coming week. I already did the table ...here is a picture of the table in case you didn't see that post.


here is a picture of the rug I chose.

 I hope I will have more pictures for you soon.
 I can't wait until the room is all done.  I would love to here your comments  or suggestions. 
Click here to go to the first post of the dinning room for the before if you didn't see it.

   The DIY Show Off

Wednesday, September 21, 2011

Desk Top Personality

I decided to add a little personality to the top of this charming little desk I bought at a flea market a while ago.

I had a little table runner on the desk before , but I thought the top of the desk would make a good message center. Everyone passes the desk at least once if not several times a day. 


 I taped off a rectangle with painters tape, lightly sanded and then applied 2 coats of blackboard paint.

I used stencils to paint the black part of the fleur de lis.

Then I took a sheet of old paper out of a damaged book and traced the fleur de lis using the stencil. I then cut the pieces out and decoupaged them on to the desk top. I think you get a big bang for the buck.

You also get a great place to leave the ones you love little messages.
I've Been Featured   Beyond The Picket Fence

Easy, inexpensive,pretty & functional .


Check out ....
       
     Altar'd Furniture Creations    Beyond The Picket FenceSaved by Suzy 
  Furniture Feature Fridays      
 PhotobucketFunky Junk's Sat Nite Special         UndertheTableandDreaming      DIY under $5  Domestically Speaking   NightOwlCrafting 


Related Posts Plugin for WordPress, Blogger...