I have been playing around with paper and glue this week. I did 3 Projects ...The first cost around $5.
It is my decorative apothecary bottles. I'm sure that a lot of you have done projects like this before and don't need instructions. But I thought that I would share the steps with those that may not have.
I bought 3 pretty little bottles from AC More... they were around 1.50 each.
Then I printed copies of vintage apothecary labels. Before cutting them out I coated them with a thin layer of white glue, Elmers type is fine, If your using a thick white tacky glue ...you might want to thin it out a tad with water or a little BLACK coffee. The coffee will help add to an aged look... If that is what your going for. That is what I was going for:)
After the glue is dry (you can speed the drying with a hair dryer, if your impatient like me) cut out the labels.
Spread a thin layer of glue on the back of the label... put a piece of paper or plastic sandwich bag under it ... so you can get the edges of the label good with out getting glue on your work surface. Position the labels on your bottle and let dry. If you started out with a black and white label (I'm out of colored ink :( ) like me , there is one more step, if you want an aged look. If you printed in color and your label started with an aged look, give it one more coat of glue and your done. If your label started out black and white and you don't want the extra step. You can edit the labels on your computer and put them in sepia tone... if you know how to do that. If not or if your out of colored ink like me ...here is what you can do.

If you used a tacky glue watered down with coffee you can just add an other coat over the top of the label and when that is dry... use the pad of your finger to spread a drop of coffee over the label dabbing up and down in some spots, for an uneven and somewhat blotchy effect. If you don't have black coffee or if you used an Elmers type glue ... try this. ad a drop of dk brown paint in your white glue or a burnt umber color paint. Test it out on scrap paper and let it dry just to see if you have the right amount paint in the glue and to make sure you like the color it turns out. If it dried a bit too dark, add a little more glue to lighten it up. Too light, add more paint. You can age your cork stopper, by rubbing it with coffee or watered down paint.
When your done you will be enjoying your little apothecary bottles like I am. They can be used as little vases too.
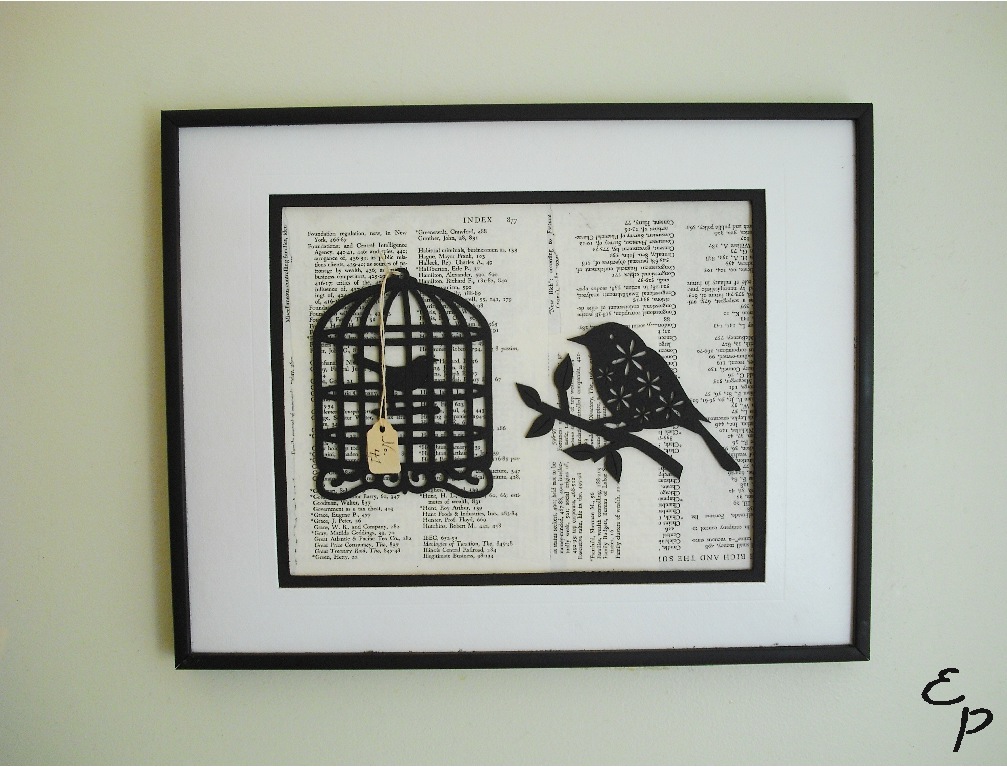
The second Project is my 80's framed print make over,
that cost me around $2 and some paint I already had.
Below is kinda what it looked like before. I say kinda because I for got to take a before picture. So I took a picture of the print that was inside and added in print shop the mat and frame , that resembled the original.
The glass was broke, the mat was dirty and the frame very shiny.
So with a little spray paint and some creativity ...I gave new life to an unusable piece of art.
I sprayed the frame and the inner mat in a flat black paint. I then sprayed the outer mat in a white satin.
The piece of card board under the print I glued old book pages to as my backdrop. The same way I put the labels on the bottles(coat of glue on the bottom & and then on top after the pages were dry).
Then I took 2 wood cutouts that I got at the craft store for .99 cents each and painted them in a flat black and glued them on. To add my own little touch, I added the antiqued little tag.
The print is now displayed in my bathroom:)
It is on the nail that was already in there... I'm not sure if I should keep it in there or not.
But I do love how it turned out. If you have frames that the glass has been broken out and you don't want to spend the money to replace the glass. Frame something 3d like I did here. You can use old keys, scrabble tiles vintage buttons or jewelry. Just about anything you love you can frame and chances are you will love it when your done.
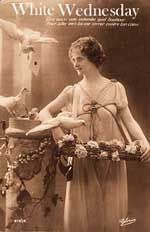
Last I did a paper lady project... that cost me $1.
I printed her out on card stock... when I cut her out I improvised on the bottom of her gown and sort of cut a triangle shape from where the graphic ended. I also cut a spot over her head so I could punch a hole on her to tie ribbon or use for hanging. I used a Q-tip to put a little blush on her cheek and a little on her gown. I put 3 thin layers of tinted glue over her to protect her and stiffen her up. I also glued a flat wood stick on the back of her to strengthen her head and neck. Then she was done and ready for me to display the $1 vintage doily I bought on our crazy day out. That is what I made her for. I just folded the doily in half and then wrapped it around her waist. I think If you sprayed her with a little perfume she would be sweet hanging in a closet . She is hanging in my bathroom ... somehow all three projects ended up in my bathroom for now at least.
So there you go 3 projects... all made with a little paper n glue, all easy and all under $5
I hope you enjoyed them :)
Don't forget to come back on the 1st for Septembers button swap link party!
 Put me on your blog roll or grab a button from my sidebar now, so you don't forget about the party! I'm looking forward to seeing you all there! Here is my swap partner from the August 1st party:)
Kathryn, from "The Dedicated House". If you would like to check out her wonderful blog or join her weekly party, you can find her button on my side bar :) or you can check out the feature post I did about her HERE.
See you at the party:)

Sharing this post here :)


 and